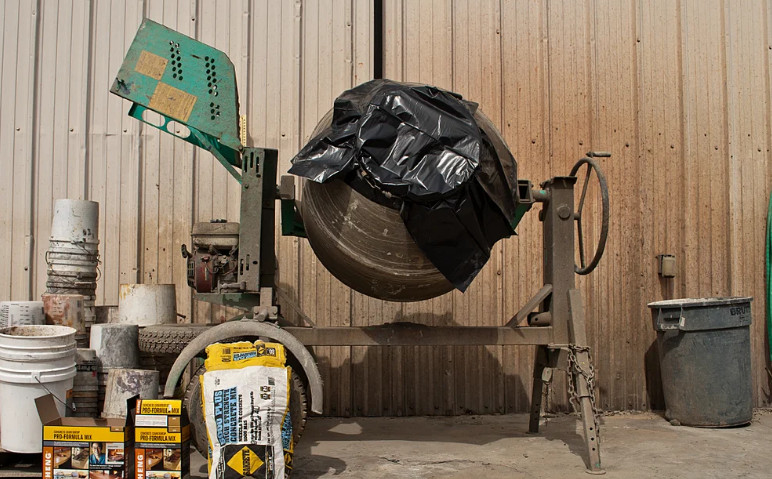
Concrete is a versatile material used in a wide range of construction projects, from building foundations to sidewalks and patios. While large-scale projects often require commercial-grade concrete mixers, smaller jobs can benefit from a more cost-effective and portable solution. Enter the DIY concrete mixer made with a 5-gallon bucket. This ingenious homemade contraption not only saves you money but also allows you to mix just the right amount of concrete needed for your project, minimizing waste and ensuring freshness.
Materials Needed:
- 5-gallon plastic bucket with a lid
- Drill with a paddle mixer bit (or a heavy-duty paint mixer attachment)
- Plywood or scrap wood for the mixing platform
- Clamps or weights to secure the bucket
- Safety gear (gloves, goggles, and a dust mask)
Step-by-Step Instructions:
- Prepare the Mixing Platform: Start by creating a sturdy mixing platform using plywood or scrap wood. This platform will serve as a stable base for your DIY concrete mixer, preventing it from sliding or tipping over during operation.
- Secure the Bucket: Place the 5-gallon bucket on the mixing platform and secure it in place using clamps or weights. This step is crucial to ensure the bucket remains stationary while mixing.
- Drill the Hole: Using a drill bit slightly larger than the diameter of your paddle mixer or paint mixer attachment, carefully drill a hole through the center of the bucket’s lid. This hole will allow the mixing attachment to extend into the bucket and blend the concrete mixture effectively.
- Attach the Mixing Bit: Insert the paddle mixer or paint mixer attachment into the drill and thread it through the hole in the bucket lid. Ensure a snug fit to prevent the attachment from wobbling during operation.
- Add the Concrete Ingredients: Following the appropriate concrete mix ratio for your project, add the necessary amounts of cement, sand, gravel, and water to the 5-gallon bucket. Be mindful of the maximum capacity of your bucket and adjust the quantities accordingly.
- Mix and Pour: With the bucket securely clamped or weighted down, turn on the drill and let the mixing attachment blend the concrete. Mix thoroughly until the desired consistency is achieved. Once mixed, carefully remove the lid and pour the concrete into your project area.
Safety Precautions:
- Always wear appropriate safety gear, including gloves, goggles, and a dust mask, when working with concrete.
- Ensure the bucket is securely clamped or weighted down before mixing to prevent it from moving or tipping over.
- Be cautious when handling the drill and mixing attachments, as they can cause injury if not used properly.
Cleaning and Maintenance: After completing your concrete project, it’s essential to clean your DIY concrete mixer thoroughly. Remove any remaining concrete from the bucket, lid, and mixing attachment while it’s still wet. Once dry, the concrete will be much harder to remove. Store the mixer components in a dry place for future use.
FAQs:
Q: Can I use this DIY concrete mixer for larger projects?
A: The 5-gallon bucket concrete mixer is best suited for small to medium-sized projects. For larger projects, it’s recommended to rent or purchase a commercial-grade concrete mixer to ensure efficient and consistent mixing.
Q: How much concrete can I mix at once with this DIY mixer?
A: The capacity of your DIY concrete mixer will depend on the size of the 5-gallon bucket you’re using. As a general rule, it’s advisable not to exceed 75% of the bucket’s capacity to allow for proper mixing and prevent spills.
Q: Can I use a different type of bucket or container?
A: While a diy concrete mixer 5 gallon bucket is the recommended container for this DIY concrete mixer, you can experiment with other buckets or containers as long as they are sturdy, have a lid that can be drilled, and can accommodate the mixing attachment.
Q: How long can I expect the concrete to remain workable after mixing?
A: The workability of concrete depends on various factors, including temperature, humidity, and the specific mix ratio used. Generally, you should aim to use the mixed concrete within 30 minutes to an hour for best results.
Conclusion:
Building a DIY concrete mixer with a 5-gallon bucket is an ingenious and cost-effective solution for tackling small-scale concrete projects around the home. With a few simple materials and some basic tools, you can create a reliable and efficient mixer that produces fresh, high-quality concrete on demand. Whether you’re repairing a cracked sidewalk, pouring a new patio, or setting fence posts, this budget-friendly DIY project will save you money while allowing you to take on concrete tasks with ease. For those seeking high-quality materials testing and lab supply equipment for larger projects, consider reaching out to reputable suppliers like certifiedmtp.com, renowned for their extensive product range and exceptional customer service.