Replacing an air conditioning (AC) unit can seem like a daunting task, but with the right knowledge and tools, it’s a manageable DIY project. Whether your old AC unit is no longer working efficiently or you’re upgrading to a newer model for better energy efficiency, this guide will walk you through the steps of replacing an AC unit safely and effectively.
Step 1: Assess Your Needs
Before diving into the replacement process, take some time to assess your needs and goals. Consider factors such as the size of the space you need to cool, your budget, energy efficiency ratings, and any specific features you want in a new AC unit. This information will help you narrow down your options and choose the right unit for your home.
Step 2: Gather Your Tools and Materials
Next, gather all the necessary tools and materials for the installation. These typically include:
- New AC unit
- Refrigerant (if required)
- Duct tape
- Screwdriver set
- Wrench set
- Level
- Electrical tester
- Safety goggles
- Gloves
- Caulk or foam sealant
Make sure you have everything on hand before starting the installation to avoid delays.
Step 3: Turn Off Power and Disconnect Old Unit
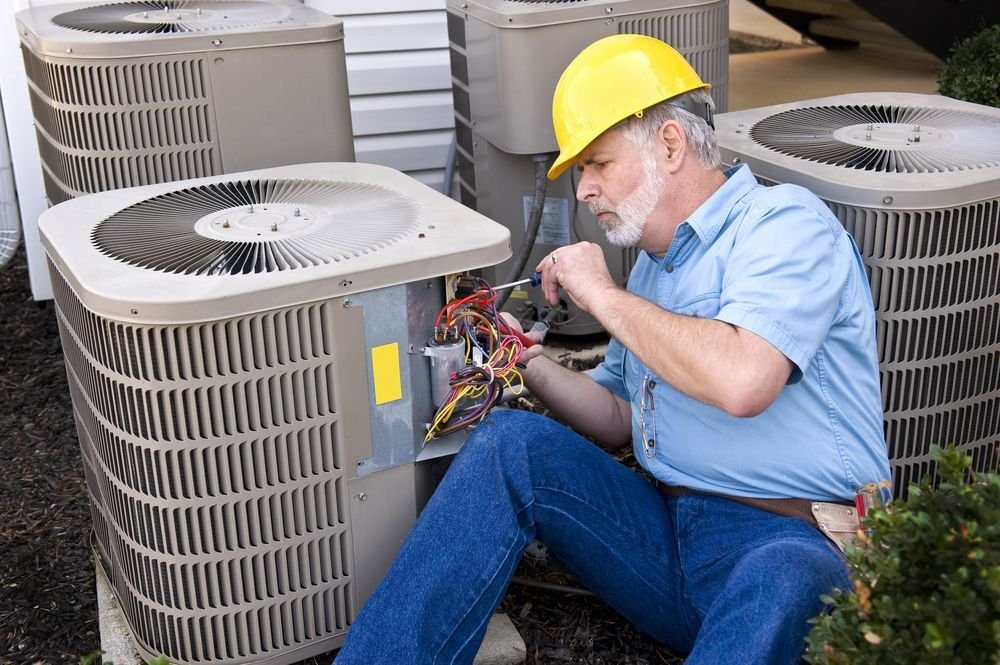
Safety is paramount when working with electrical appliances. Begin by turning off the power to your existing AC unit at the circuit breaker. Once the power is off, disconnect the old unit by removing the access panel and disconnecting the electrical wiring and refrigerant lines.
Step 4: Remove Old Unit
With the old unit disconnected, carefully remove it from its mounting location. You may need assistance with this step, especially if the unit is large or heavy. Take care to avoid damaging any surrounding components or structures.
Step 5: Prepare Mounting Area
Before installing the new AC unit, prepare the mounting area. Clean any debris or dirt from the mounting surface and ensure it is level. Use a level to check for any unevenness, as this can affect the performance and lifespan of the new unit.
Step 6: Install New Unit
With the mounting area ready, it’s time to install the new AC unit. Follow the manufacturer’s instructions carefully, as installation steps can vary depending on the unit model. Typically, you will need to secure the unit in place using brackets or mounting hardware, connect the electrical wiring, and attach the refrigerant lines.
Step 7: Seal and Insulate
Once the new AC unit is securely in place, use duct tape, caulk, or foam sealant to seal any gaps or openings around the unit. This helps prevent air leaks and ensures efficient cooling performance.
Step 8: Test and Verify
After installation, it’s crucial to test the new AC unit to ensure everything is working correctly. Turn on the power at the circuit breaker and set the thermostat to a cool temperature. Wait for the unit to cycle on and check for proper airflow and cooling. Additionally, verify that there are no leaks or unusual sounds coming from the unit.
Step 9: Final Checks and Adjustments
Finally, perform a thorough inspection of the entire installation to check for any loose connections, leaks, or other issues. Make any necessary adjustments or repairs as needed to ensure the AC unit is functioning optimally.
Step 10: Maintenance and Care
Regular maintenance is key to keeping your new AC unit running smoothly for years to come. Schedule annual inspections and tune-ups, clean or replace air filters as needed, and keep the area around the unit free from debris and obstructions.
By following these steps and taking proper care of your new AC unit, you can enjoy reliable and efficient cooling comfort in your home. If you ever encounter problems or are unsure about any aspect of the installation process, don’t hesitate to seek professional assistance.

